Katharina Builds a Snowboard

All good things come in threes, particularly winter vacations with Lena.  So far, Lena‘s family has invited Katharina twice for their winter vacations, when they went to South Tyrol in the Italian Alps.  This year’s destination is now the Samnaun Valley in Switzerland.

“This is going to be soooo great! “  Katharina goes on and on about how much she’s looking forward to the vacations in Switzerland.  “All I have to do is renting a snowboard, for I already have all the other gear, and then the fun starts.”  The rest of the family listens patiently, and lets Katharina dream on.  It isn’t until a few days later that Mike realizes the true charm of Katharina’s daydreams.  Renting a snowboard may be nice, but building your own snowboard is the real thing.  After all, spending time with the kids in the wood workshop is something he definitely should do more often.  There’s no better place for a harmonic and inspiring father - kid relationship than the little makeshift workshop in the basement of their house.  The evenings spent together in the workshop might even be more harmonic and inspiring than their other favourite pastime, attending a home game of Borussia Mönchengladbach, their favourite soccer club, which is something they should also do much more often.  But that’s a different story.

Click on the photos to enlarge them.

Building her own snowboard is a suggestion that Katharina needn’t be asked twice.  “Sure thing!  When do we begin, how exactly is it done?“  are her questions.  “Well,” says Mike hesitatingly, “I guess we still have to find that out.”  In fact, apart from a quick check of the internet where he found (but neither read nor watched) some tutorials on snowboard building he hasn’t really bothered of digging into any details.  But building a snowboard is not rocket science.  There are shops that sell the necessary board building supplies, and tutorials with more or less detailed instructions about what to do.

In principle, a snowboard is not a very complicated structure.  The core consists of wood with a thickness of up to 8 mm, depending on the rider’s weight.  At both ends, this thickness goes down to about 2 mm, providing enough flexibility for the ends to be curved upwards.  On its top and bottom side, the core is laminated.  On the top side with a layer of glass fibre fabric for stiffness and stability and on the bottom side also with a layer of glass fibre fabric plus the base sheet for a frictionless and fast ride.  Before laminating the base sheet to the core, a special steel edge is glued around the base sheet. This edge protects the board against abrasion and wear and enhances the agility of the board.  For the lamination the two sheets of glass fibre to the core, the core already needs to be bent in the exact same shape the final board is supposed to be curved, i.e. with the edges bent about 50 mm upwards and the centre part raised for about 15 mm so that the board has, as the pros put it, some camber.  Only if these layers are laminated in a bent shape, the board will keep this shape permanently.  For this purpose, Katharina and Mike build a platform from scrap wood on which they impose the desired bends on the board.  Wooden core, glass fibre fabrics, and base layer are glued together using an epoxy resin.  When hardening, the epoxy becomes transparent so that the finished board will look like consisting only of wood.

Before they start in the workshop, Katharina and Mike take a closer look at snowboard geometries and are confronted with a confusing variety of options.  Would they prefer a freeride, freestyle, or all mountain geometry?  With camber or rocker?  As a true or directional twin, or rather tapered?  What dimensions should they take for effective edge length, sidecut radius, setback, and stance?  How far are the two edges to be bent upwards?  All these things, plus many more, appear to have an important impact on the running behaviour of the board, and want to be understood and chosen properly.  After long discussions Katharina and Mike finally go for an all mountain geometry with an overall length of 1.54 m, a sidecut radius of 8 m, a core thickness of 6.0 mm, a camber of 15 mm, and a bunch of other well considered dimensions.  “Yep, that’s going to be it,” Katharina finally declares, “my custom-designed winning board.”

Mike buys the building materials in the internet:  steel edges, PE-sidewalls, base layer, glass fibre fabric – not any fabric, but the torsion proof type with fibres in longitudinal, lateral and diagonal directions – epoxy resin, and hardener.  They could also buy a wooden core if they wanted to, but decide to rather build one from leftover wood from various former weekend projects.  There are so many treasures waiting to be dug out in either the basement or the garage and then be reused:  Beech from building the kitchen table, larch floorboards, maple from the cutting 
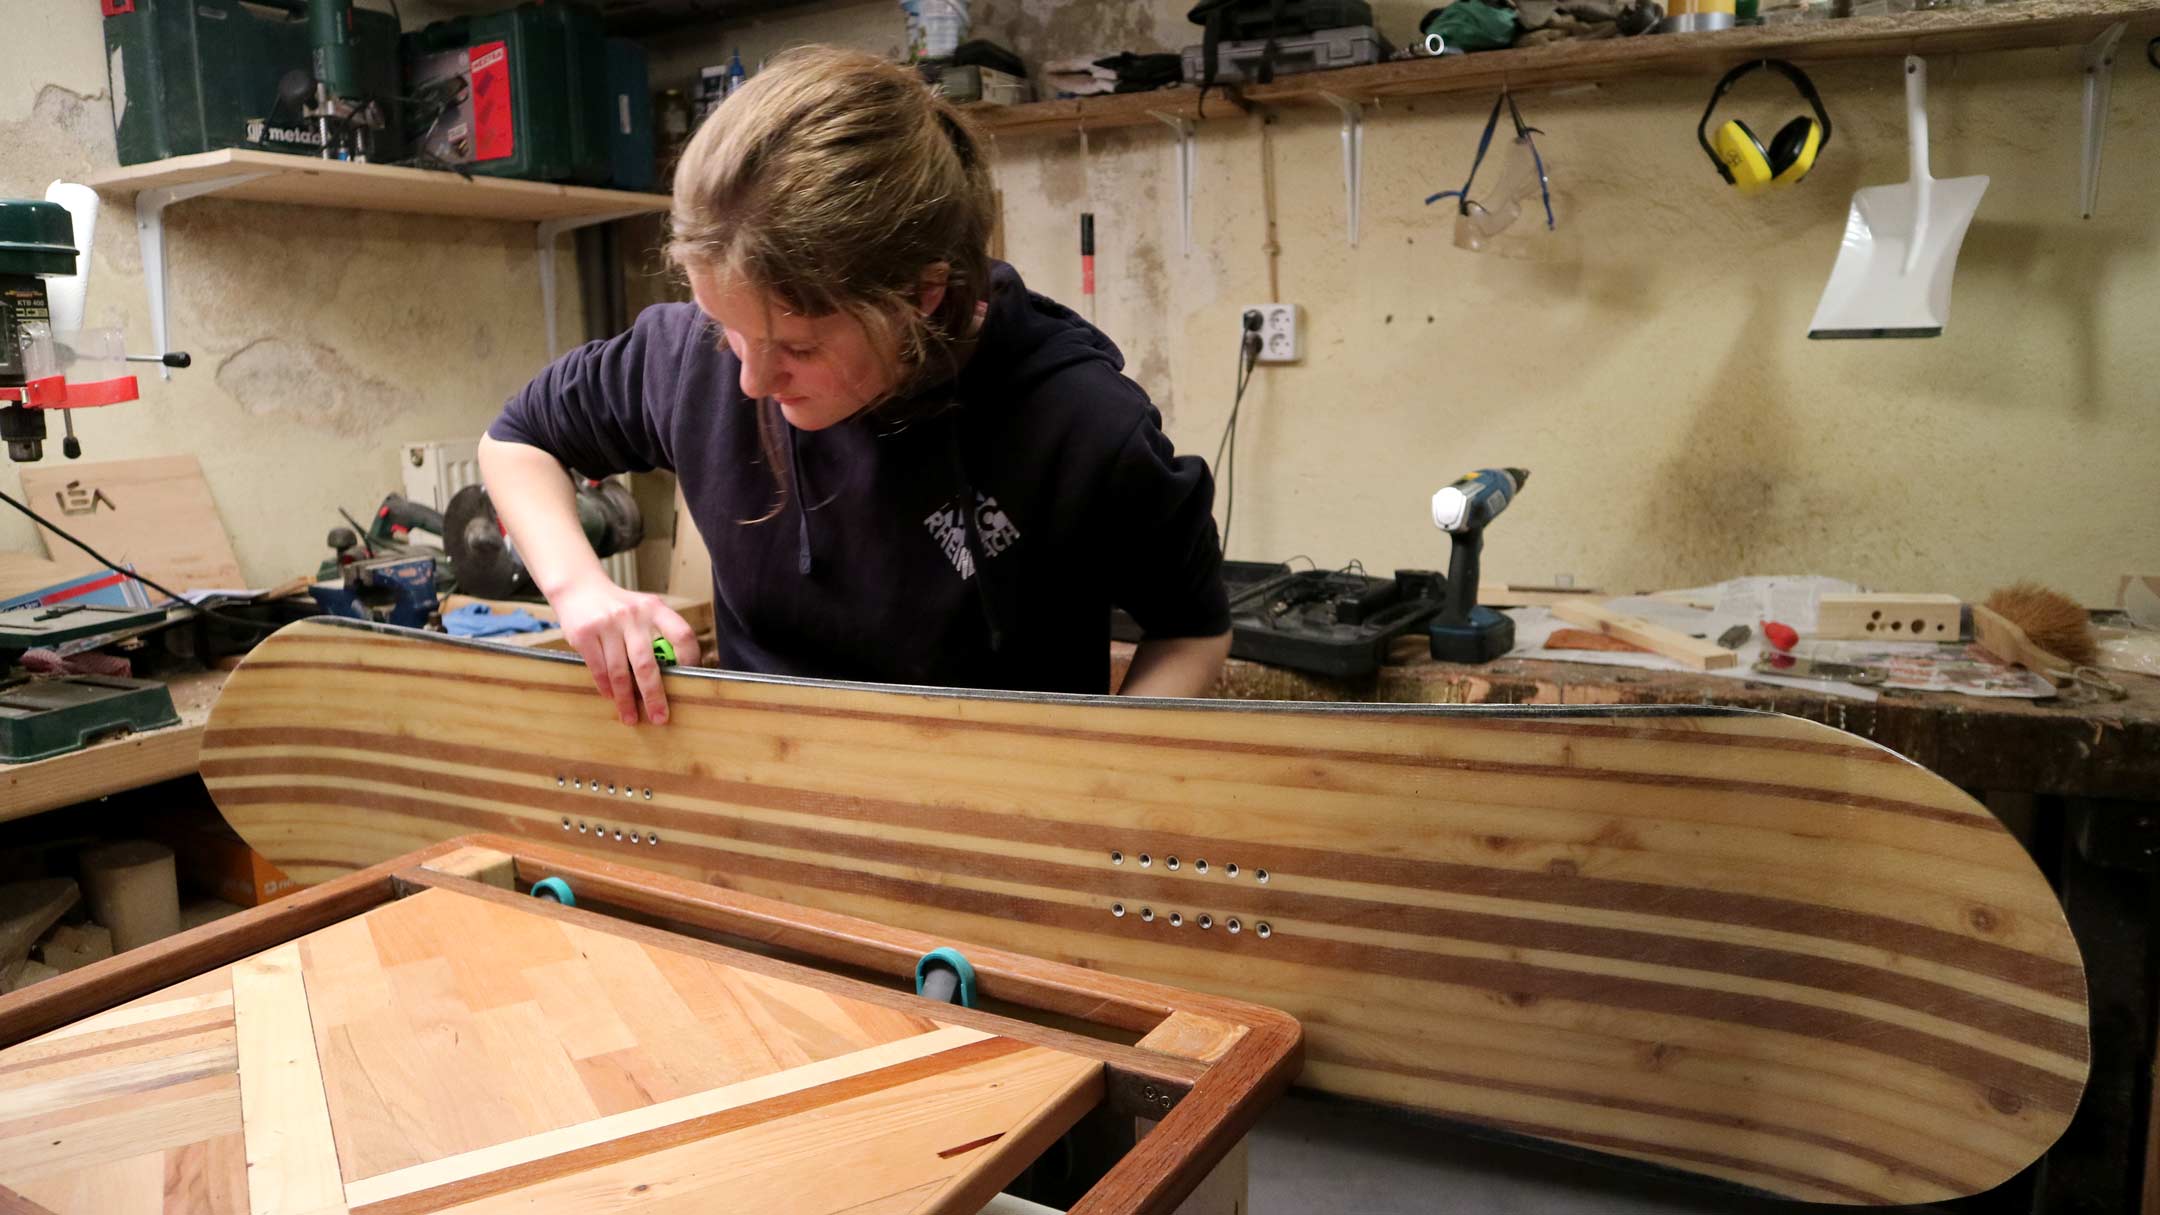
board, spruce planks from the shelf construction, bangkirai boards from the patio, and Western red cedar from the canoe.  These woods, decides Katharina, should be beautifully assembled to form the core and give her snowboard an elegant multicolour wooden look.  Mike agrees with her, although for a different reason.  He always tries to avoid leftovers, no matter whether at lunch or when woodworking.

The actual woodworking starts with cutting the various leftover woods into 1 cm thin strips.  For this task, and only for this task, Katharina lets Mike go ahead.  Cutting the strips is done on the table saw, and Katharina still vividly remembers the woodworker whom she asked for a placement in the 2 week internship program during 9th 
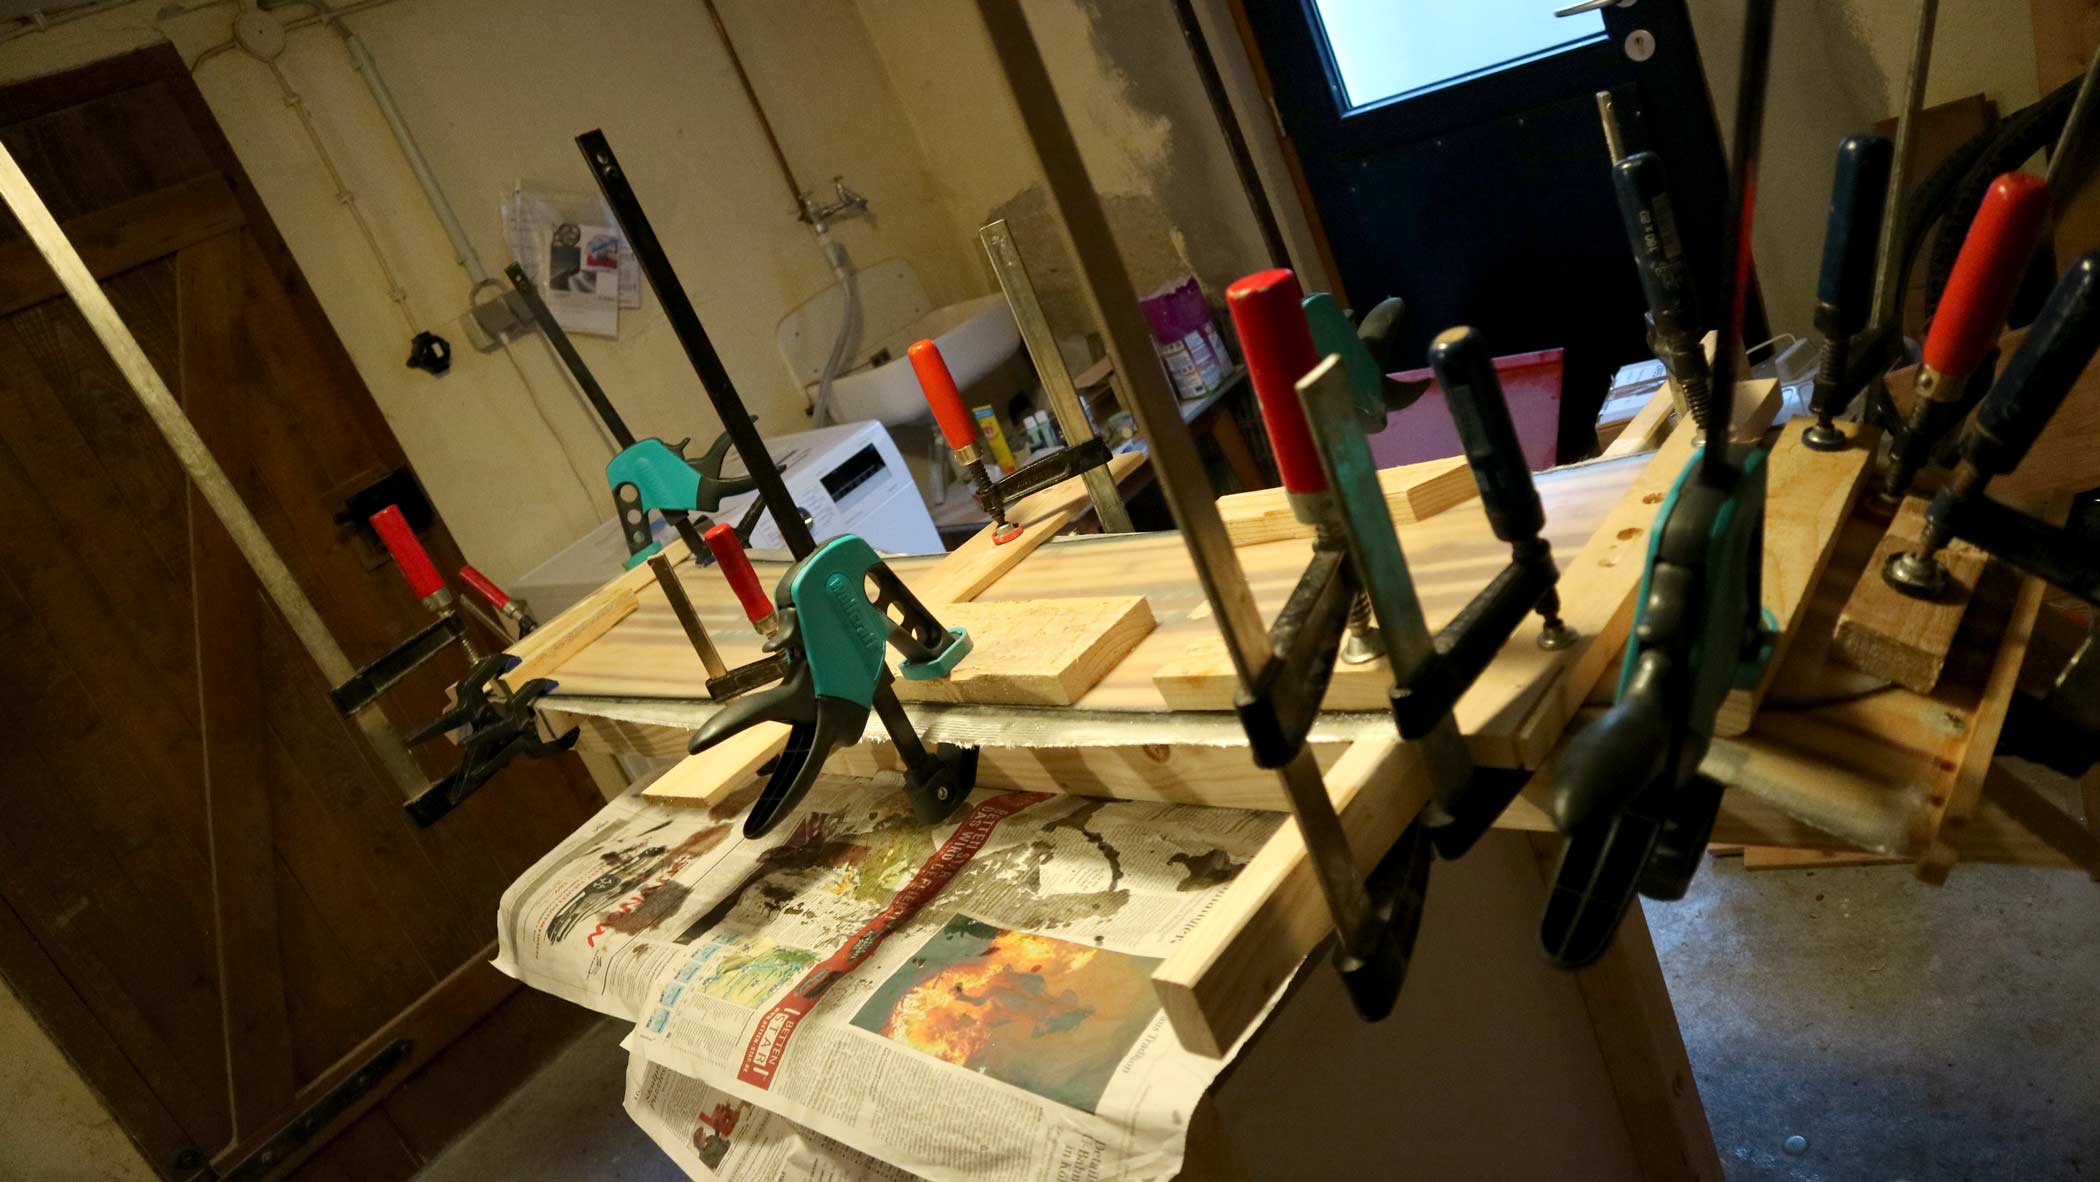
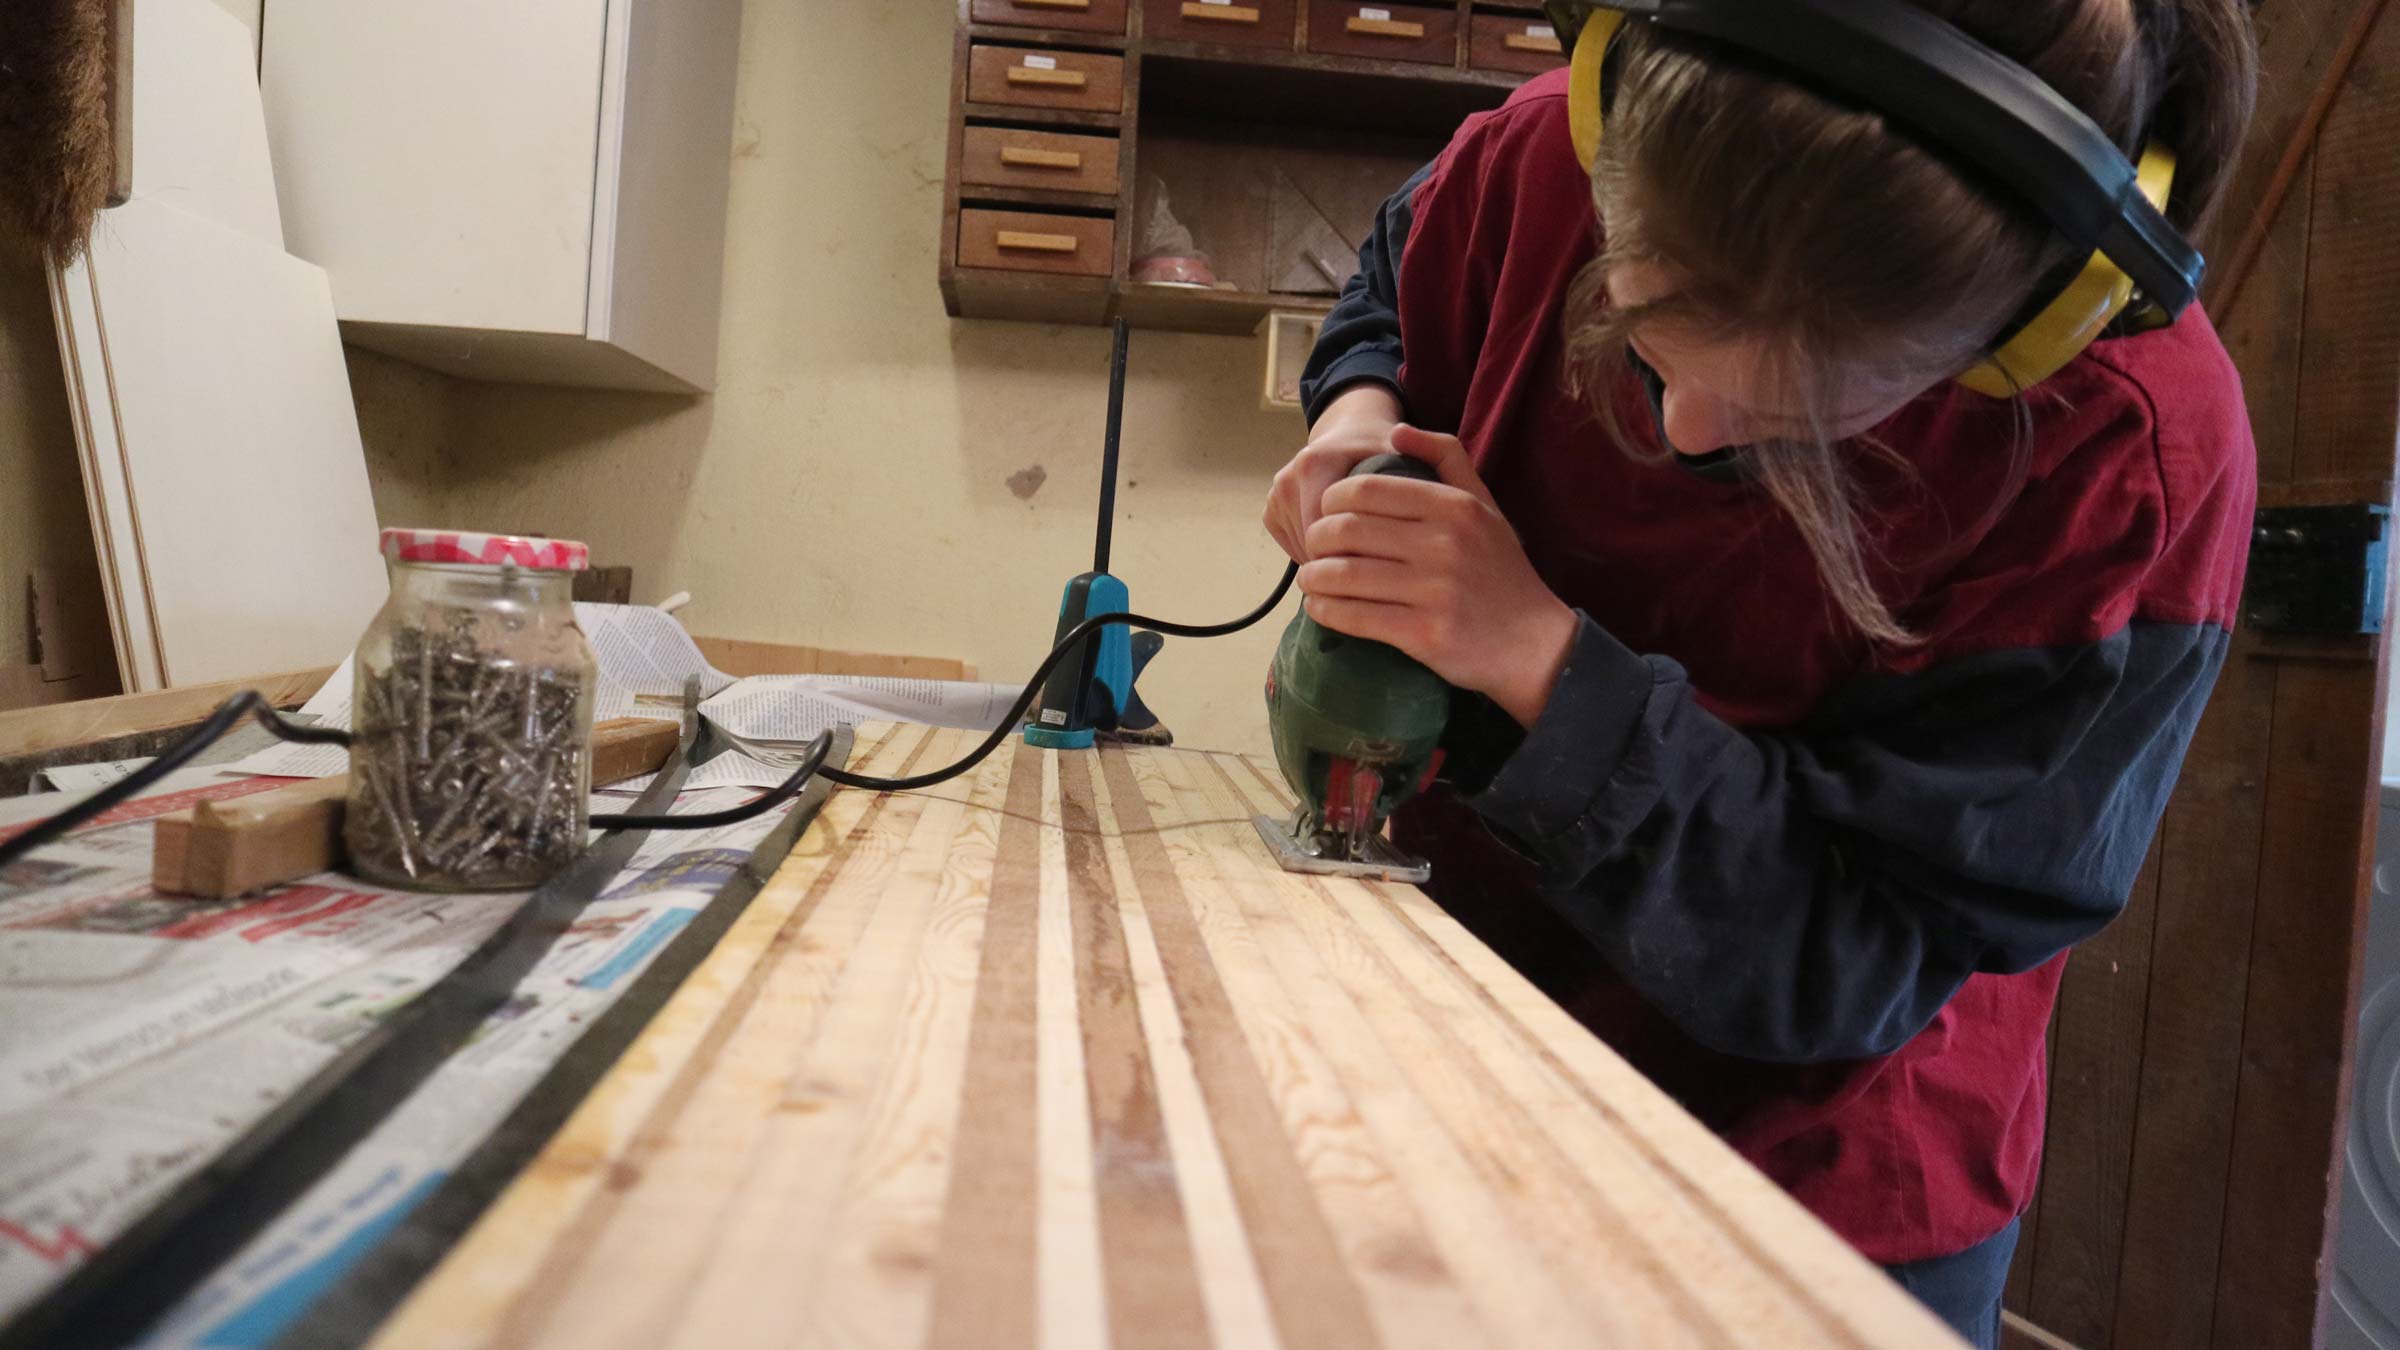
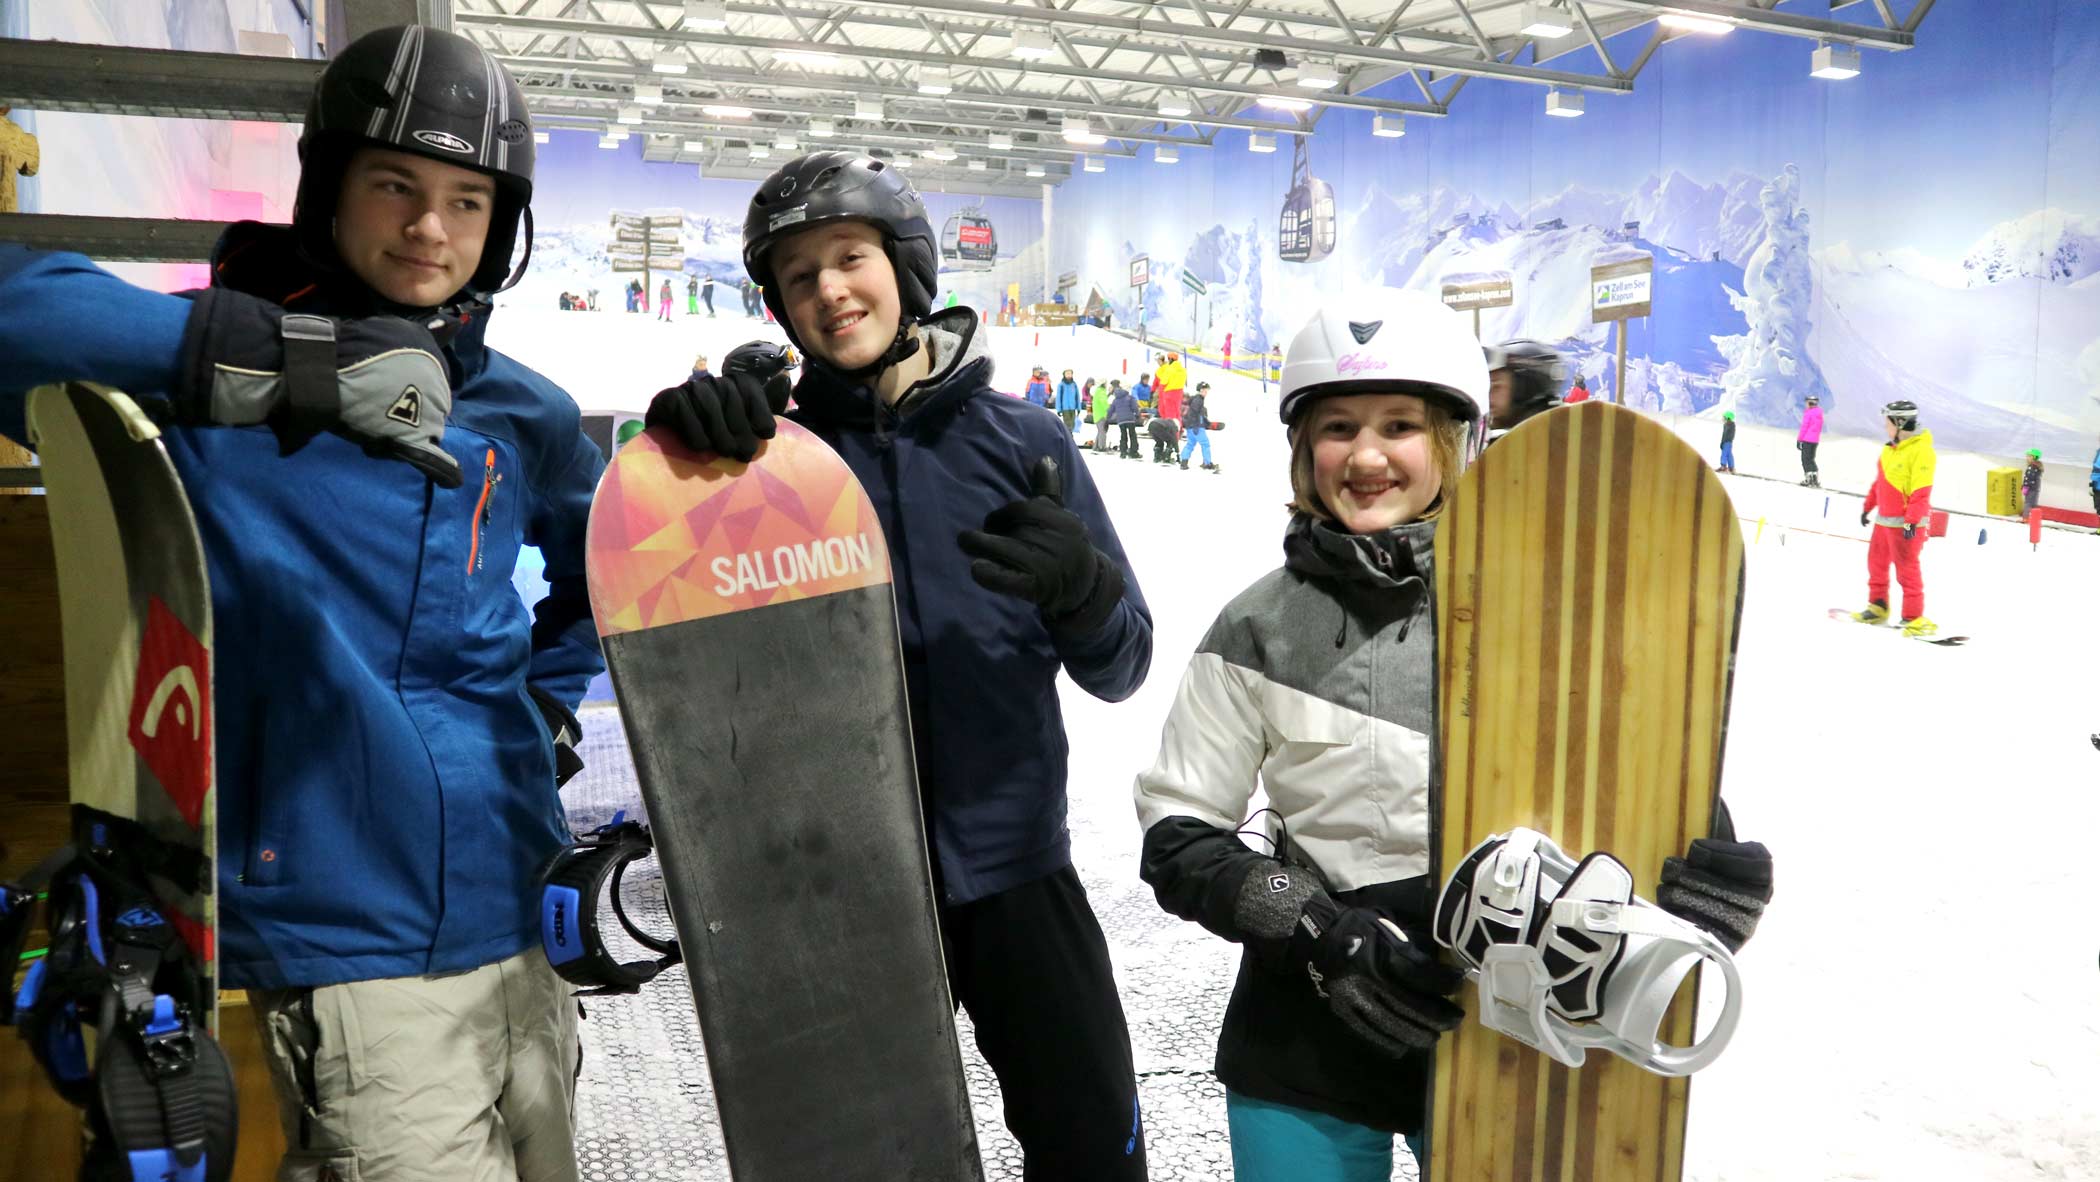
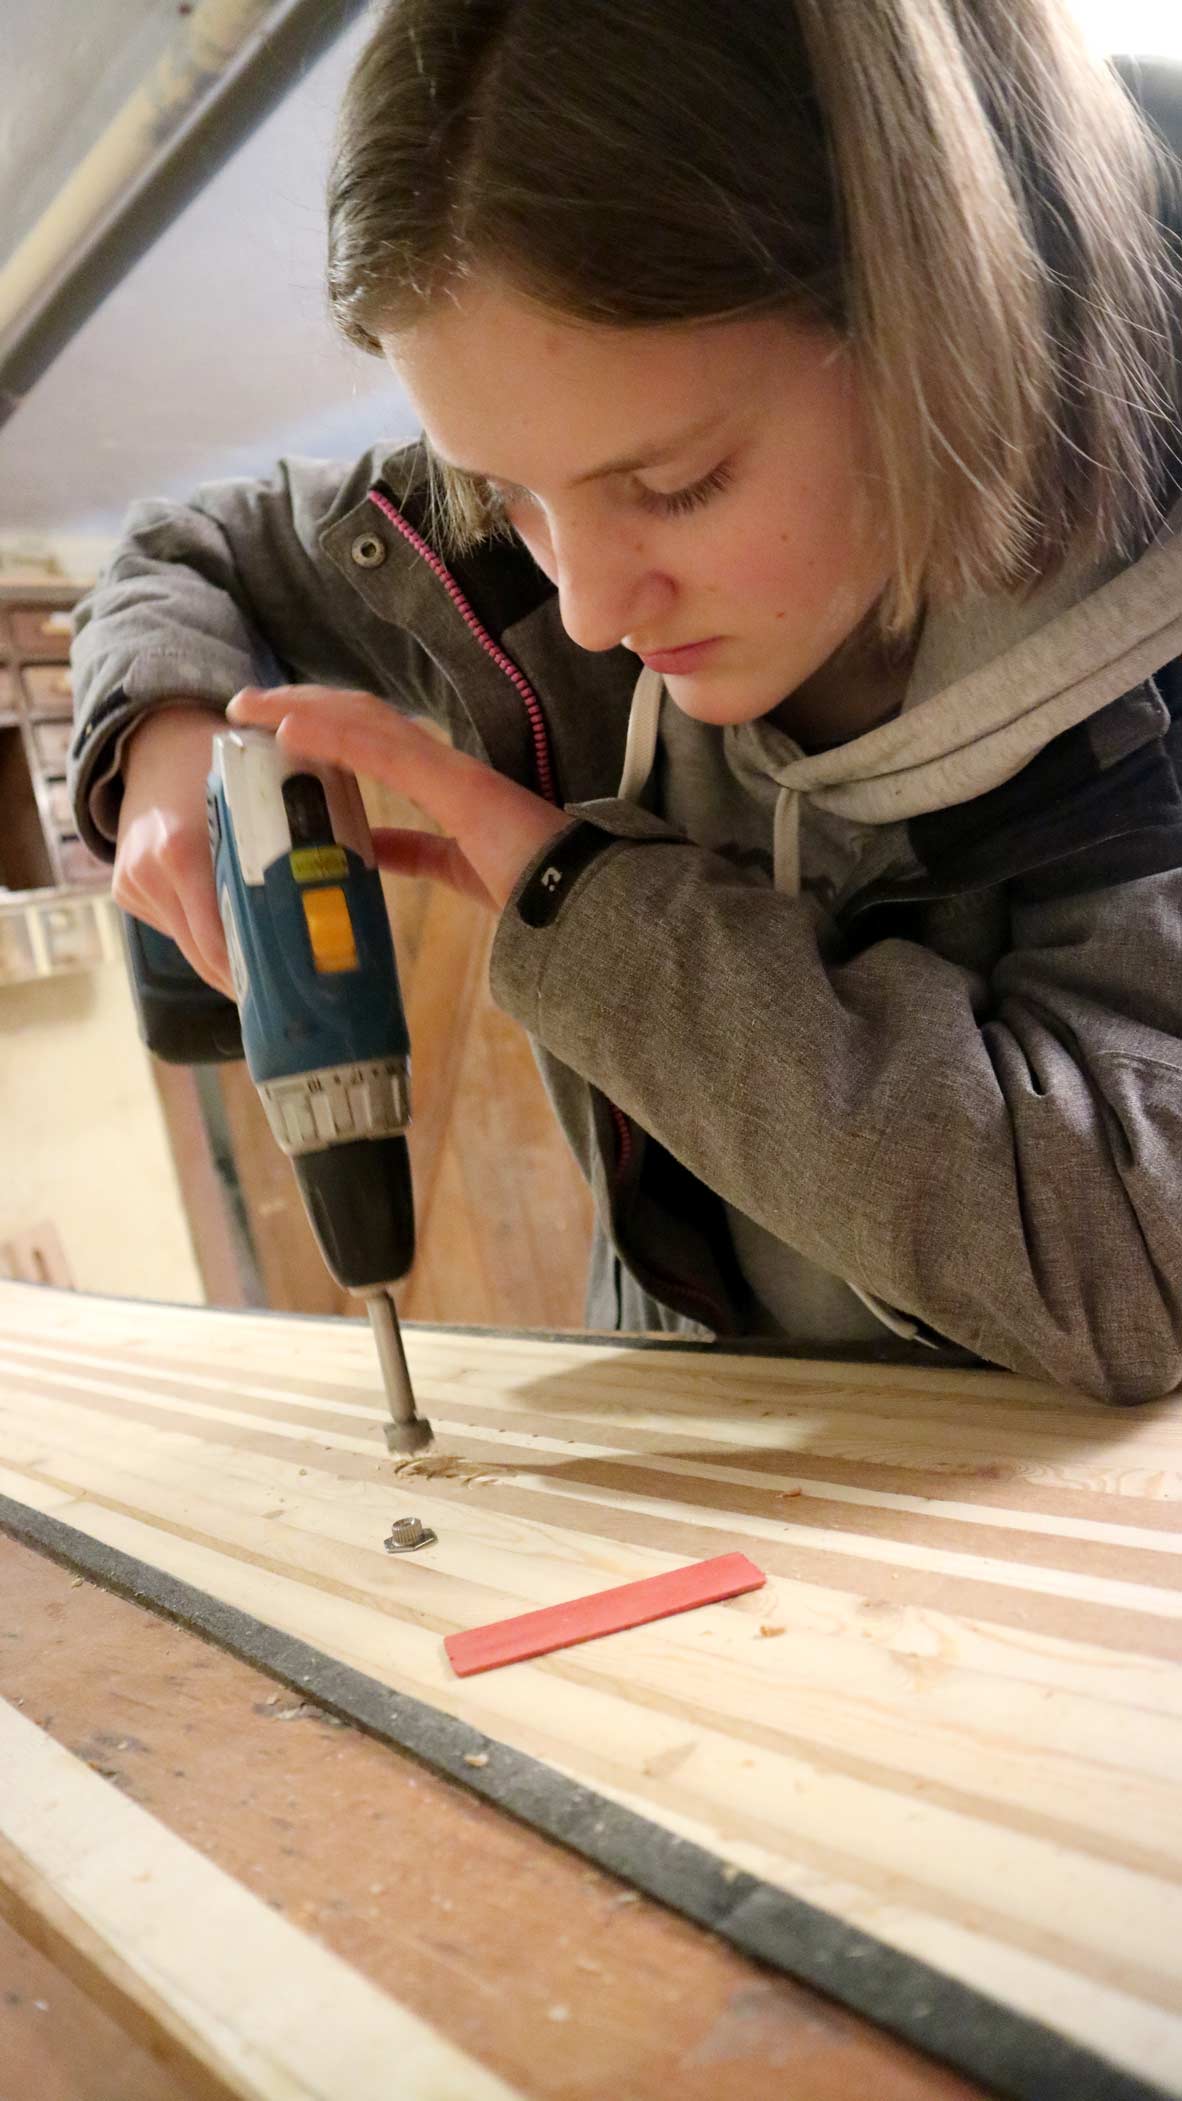
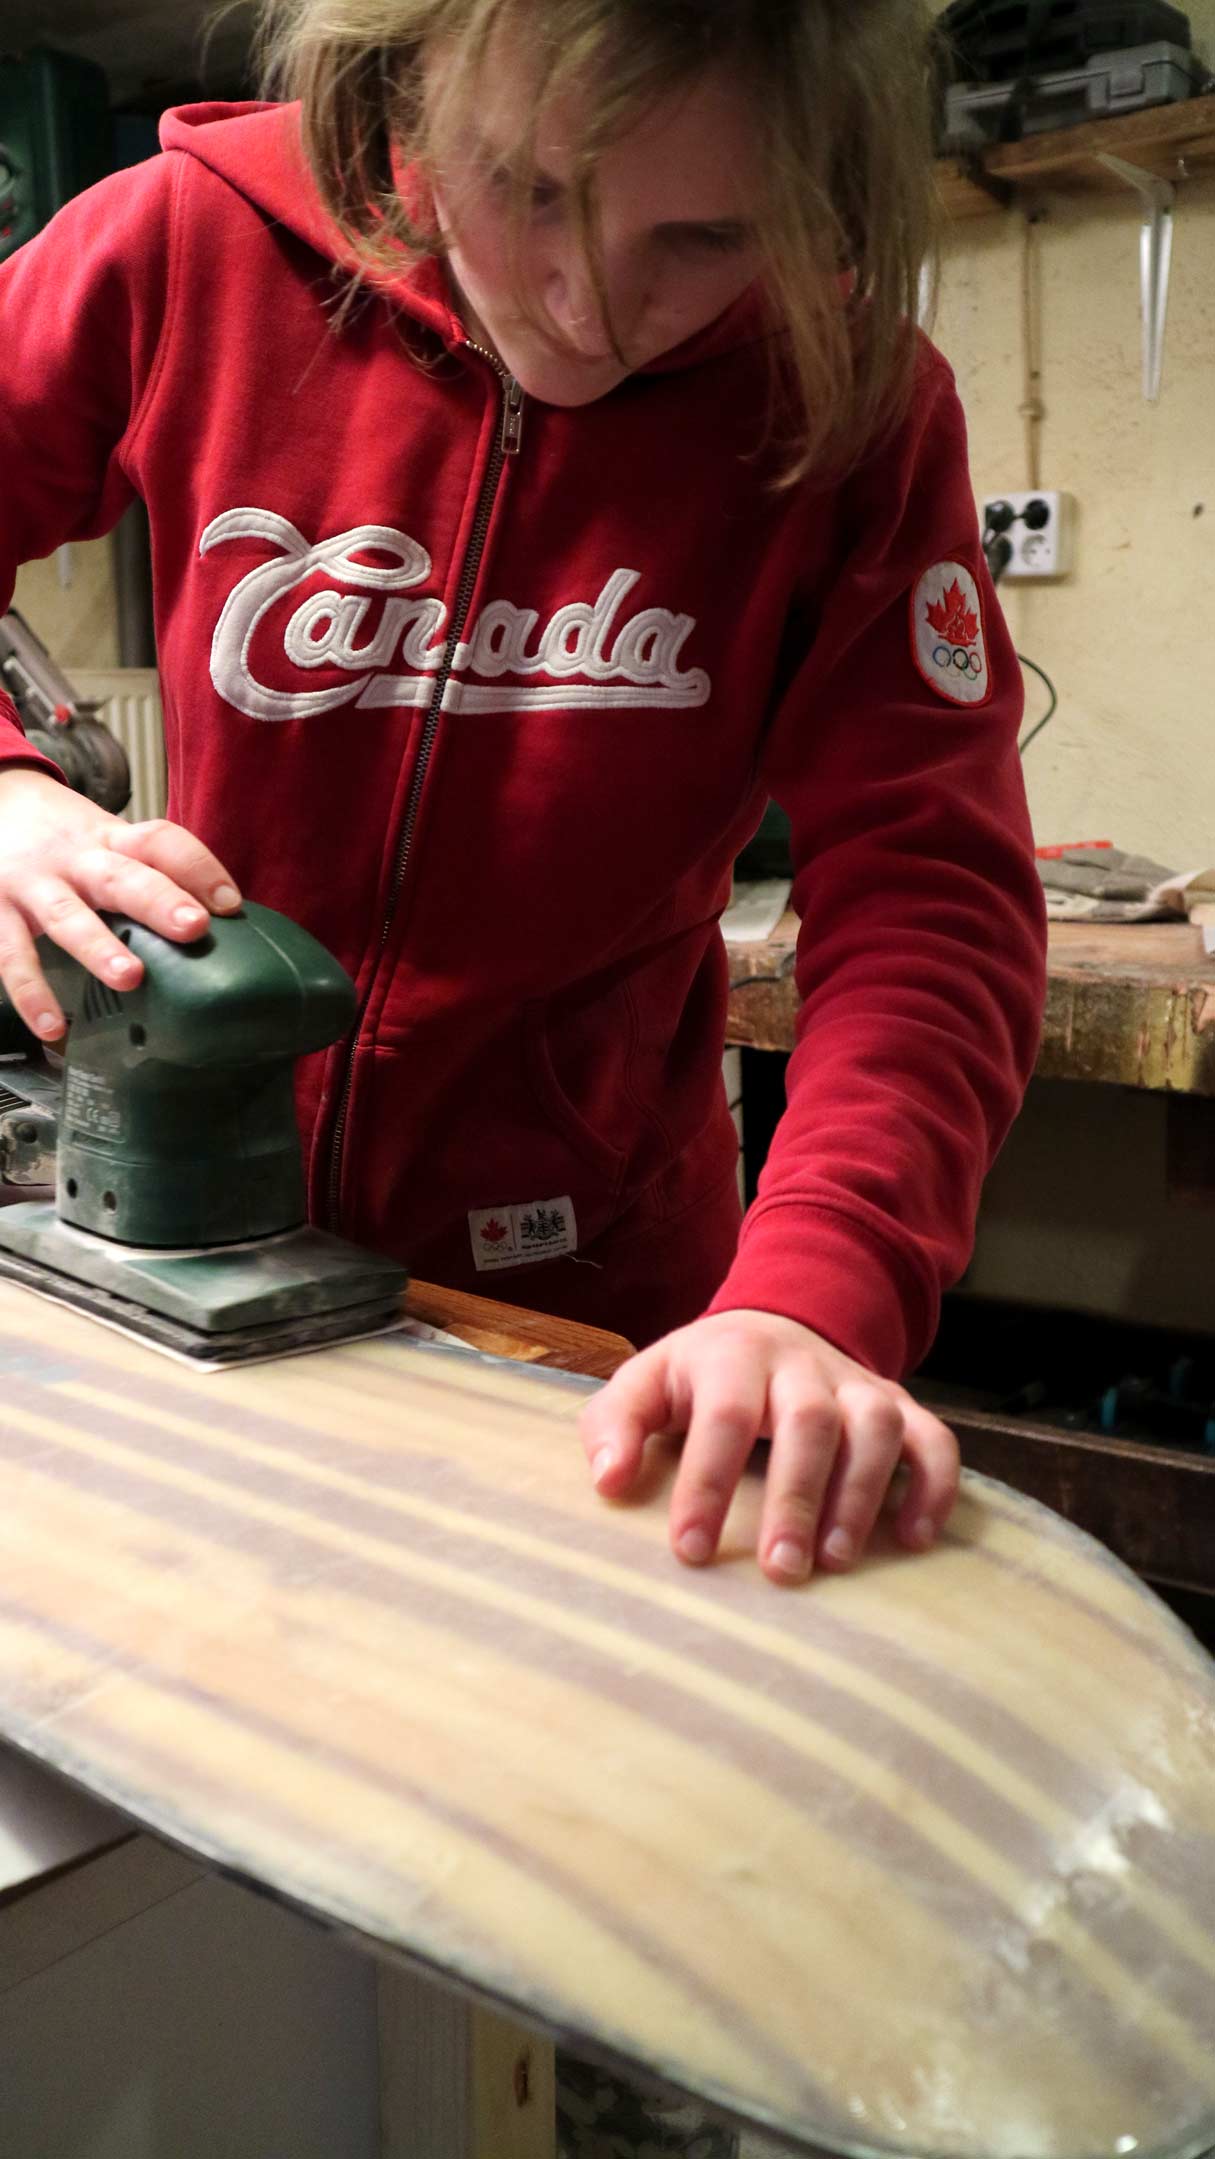
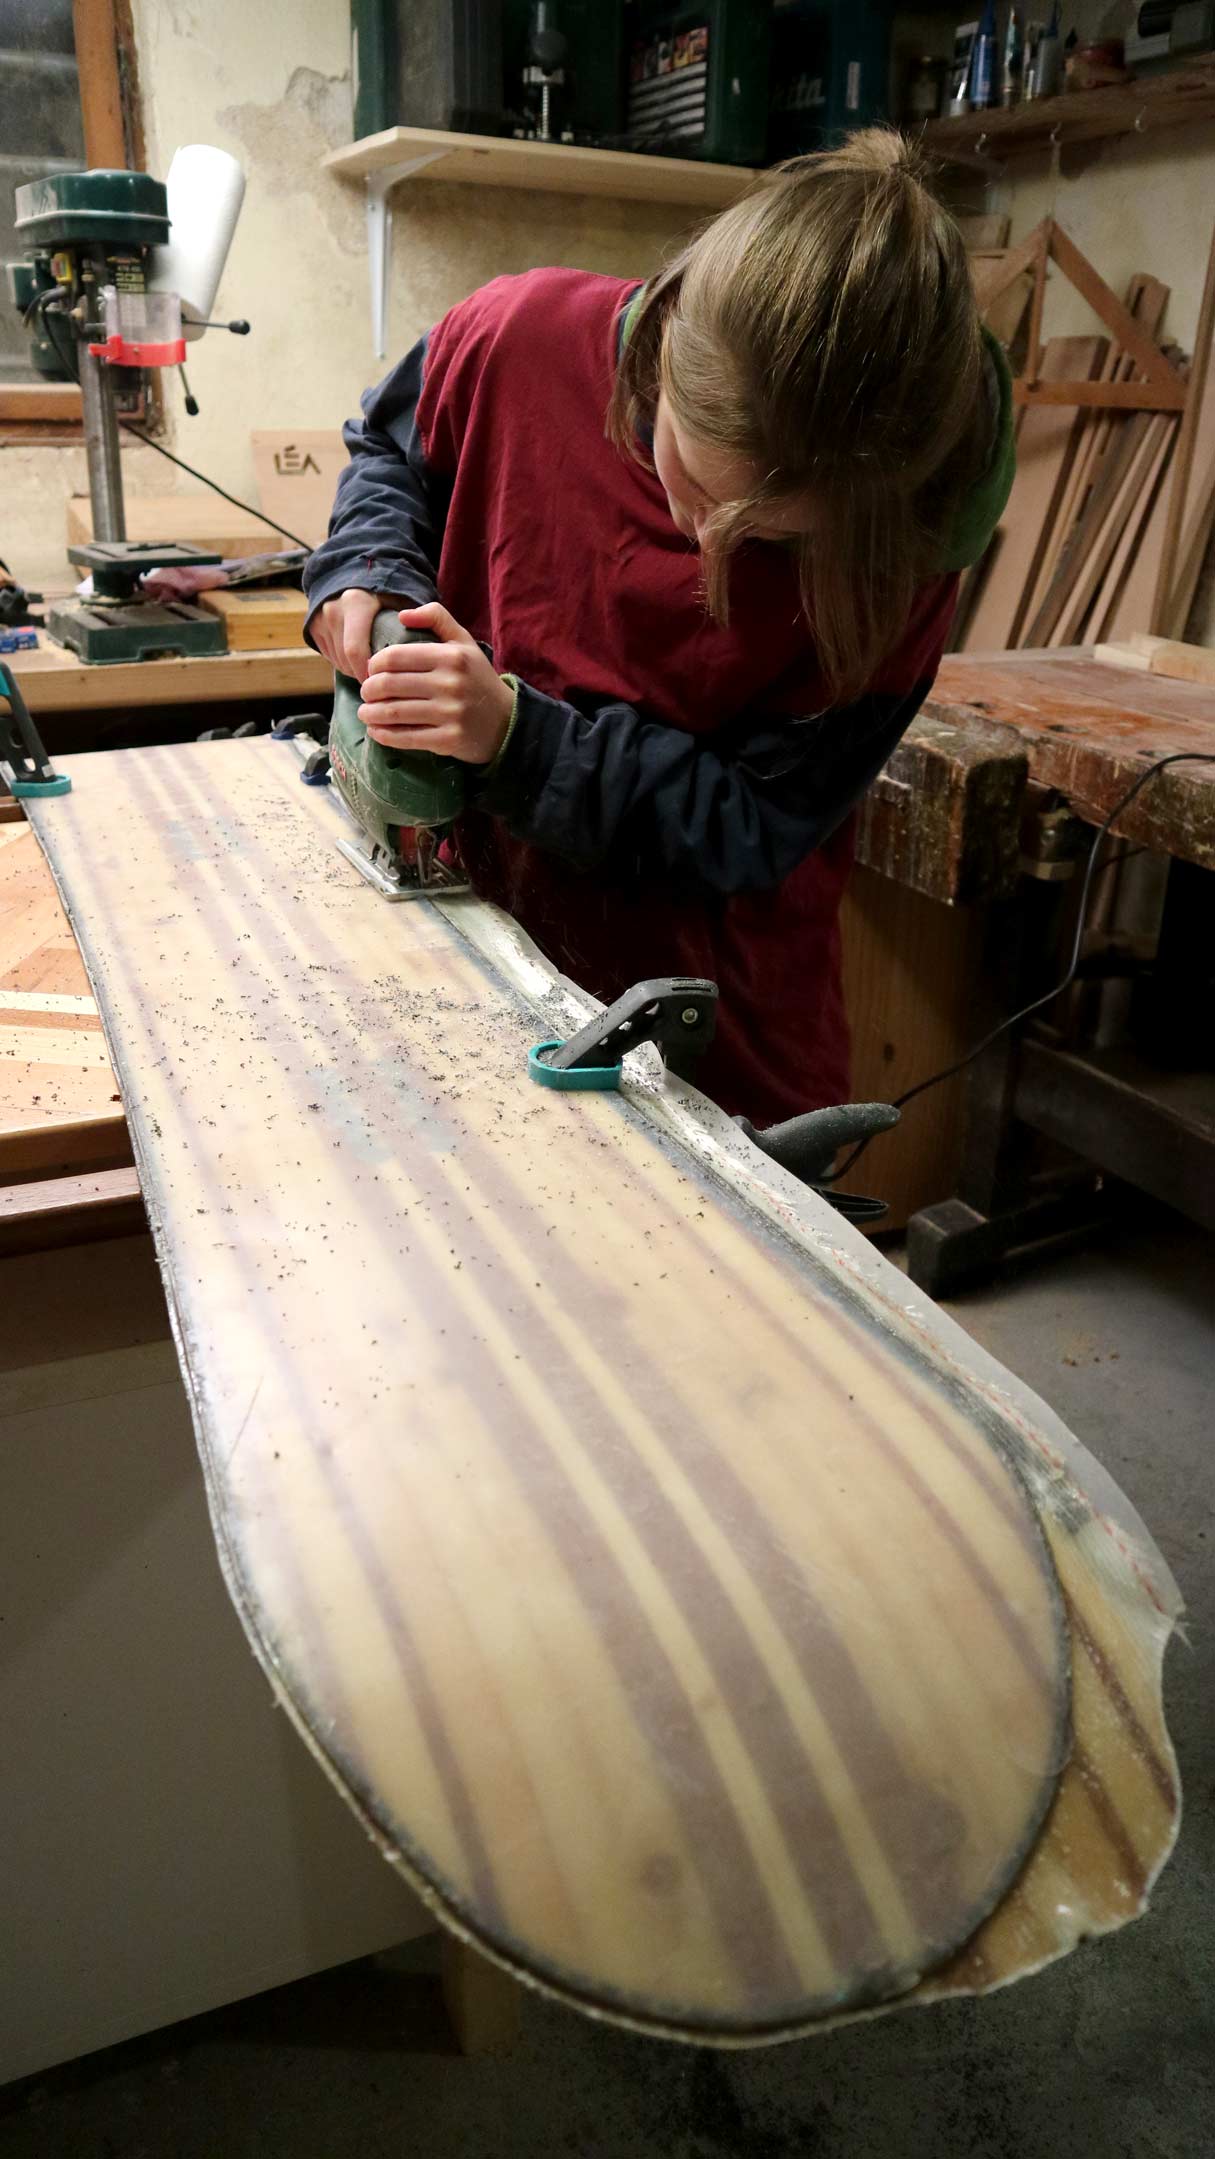
grade.  The guy only had four fingers on his left hand – a table saw accident.  So it’s up to Mike to operate the table saw, but then Katharina takes over.  After all, there’s still plenty of work for all the other tools.  To start with, there are the C-clamps to glue the wooden strips to a 30 cm wide panel to form the wooden core.  Then she uses the electric plane, the router on a sled and the orbital sander to work the panel down to the desired thicknesses.  With a cordless drill and a forstner bit she drills the holes for the inserts that the bindings will eventually be attached to.  The jigsaw is needed to make an auxiliary plywood form of the board around which she bends the steel edge.  Then the laminating starts.  Katharina mixes roughly a liter of epoxy with hardener and glues the two layers of glass fibre fabric and the base sheet to the core.  After curing, it’s time again for jigsaw, router, and orbital sander to remove those parts of the wooden core that protrude beyond the steel edge.  The two final tasks are then routine snowboard maintenance: sharpening the steel edges and waxing the base layer.  As complicated as this may all seem, standing at the workbench and having the great goal of a most beautiful snowboard in front of your eyes, it is a feasible job.  And in fact, Katharina now holds her very special home-made snowboard in her hands.

The snowboard does look great, which is of course nice, but does it also run great?  That’s something Katharina would like to know before heading off to Switzerland.  Together with Felix and his buddy Raik, who are always up for a sports adventure, she visits the indoor skiing centre in Neuss, just an hour’s ride from Rheinbach, to find out.  For an afternoon, the three kids chase down the slope on their boards.  “Wow, this thing really runs well,” thinks Katharina while racing downhill on her board, “what a cool board”. And “Things go really well with her,” thinks Mike while photographing the kids, “what a cool daughter”.

back to the main page